How to assemble a CO2 laser engraving and cutting machine correctly? This is a key point, CO2 laser machine will go well only when you assemble the CO2 laser machine correctly. Don't worry, this article will help you to know the process of how to correctly setup CO2 laser engraving and cutting machine.
Let's go with the following 12 easy-to-follow steps to assemble a CO2 laser machine:
Step 1:
Remove all the package recover the machine like the wood, plastic film and so on. (be careful of the nails)
Step 2:
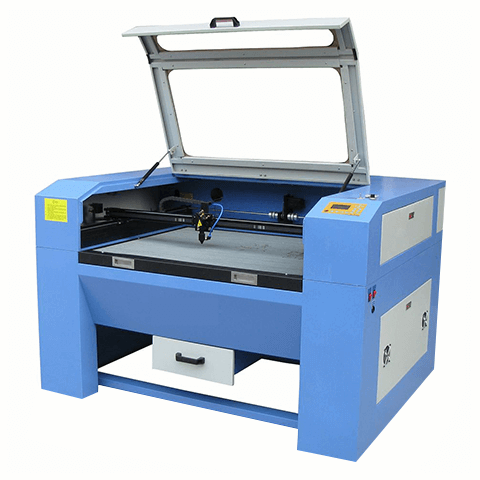
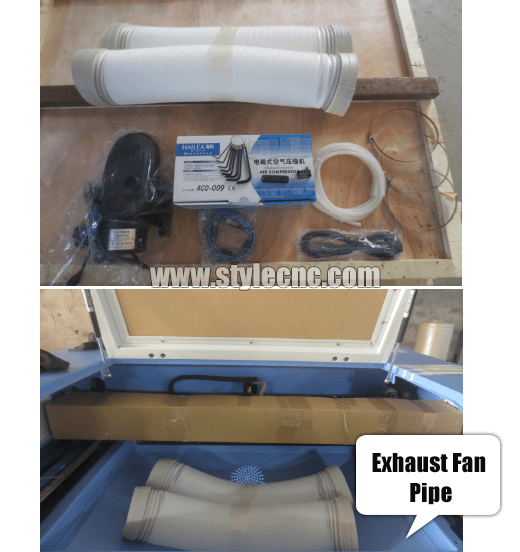
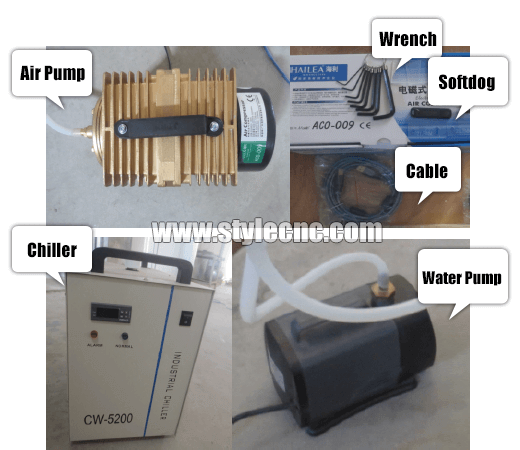
Open the front door,side-door and get all the extra parts of the machine out, like: water chiller/water-pump, dust collector, air pump, laser tube, softdog, rotary device, etc.
After you open the front door, please cut the tie on the belt of the X-axis and Y-axi, get the CD, then move the laser head to the center of the working area by your hand.
Step 3:
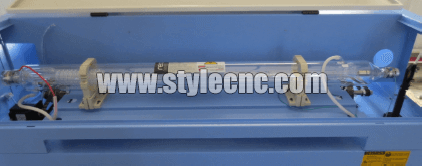
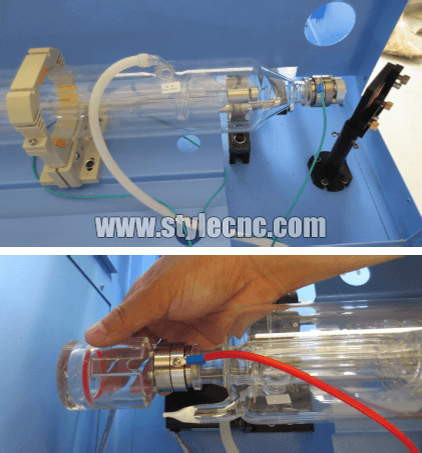
The most important step to correctly assemble a CO2 laser engraving and cutting machine is to setup the CO2 laser tube. So, pay special attention here.
1. Take the laser tube out of the package slowly, then put it on the laser tube socket at the back of the machine.
2. There are two ends of the laser tube. One is laser light out and the other is high pressure end.
3. If the laser tube has the plastic protective sleeve, please cover the protective tape. If not, please cover sufficient waterproof tape. On the laser light out is the water out, behind the high pressure end is the water in. The theory is “low in high out”.
Step 4:
The assembly of the water chiller/water pump:
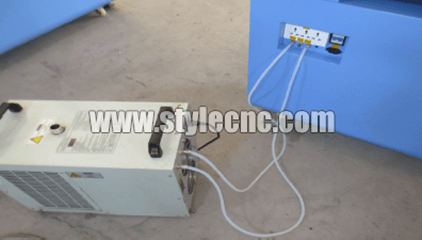
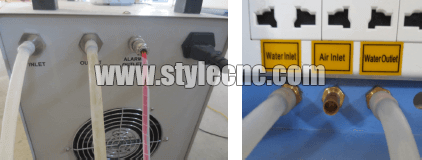
1. Water chiller: connect the water inlet and water outlet of water chiller with the water outlet and water inlet of the machine by the Silicone tube, then connect the air plugs ALARM OUTLET (water protective)
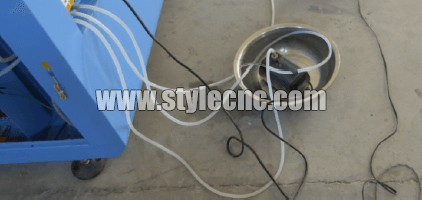
2. Water pump: connect the silicone tube with the water outlet of the water pump with the water inlet of the laser machine. Then use the other silicone tube connect the water outlet of the machine with the bucke.
Step 5:
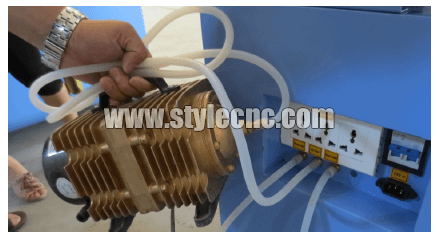
The assembly of the air pump:
Connect the air outlet of the air pump with the air inlet of the laser machine. (Air inlet)
Step 6:
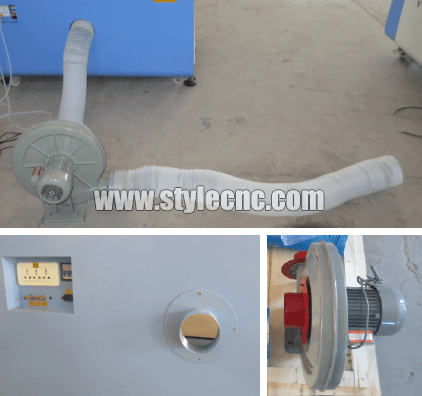
The assembly method of the dust collector:
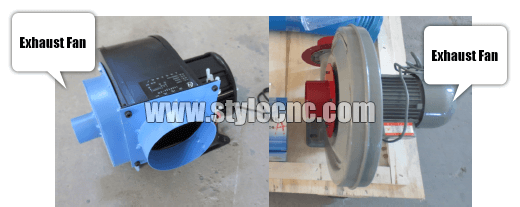
Connect the exhaust port of the dust collector with the telescopic pipe of the laser machine.
Step 7:
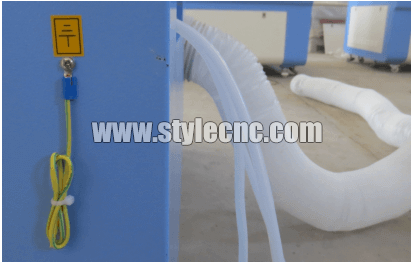
The assembly of the Ground:
Connect the ground security, find a wire (above one square metre), and should connect the machine to the ground. the other end connect the steel bar, it must be buried under the ground 1.5 metre. If in the wet place, the bury depth can be shallow.
You should check wether all parts of the laser machine are assembled correctly and wether the electrical accessories and line are dropped or damaged.
This is aslo significant to correctly assemble a CO2 laser engraving cutting machine.
Step 8:
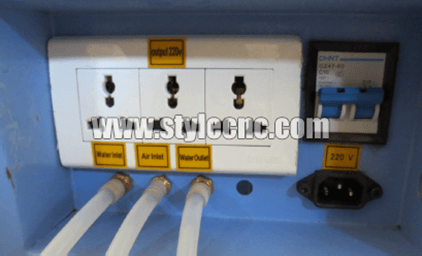
Our CO2 laser machine should use the power with the 220v. If you local power is 220v, you can connect it directly. If not, you need an extra power transformer for the machine to the change the power.
Step 9:
First, supply the power to the water chiller. Then check the silicone tube to see whether it can make water, special whether the water flow is normal.
Step 10:
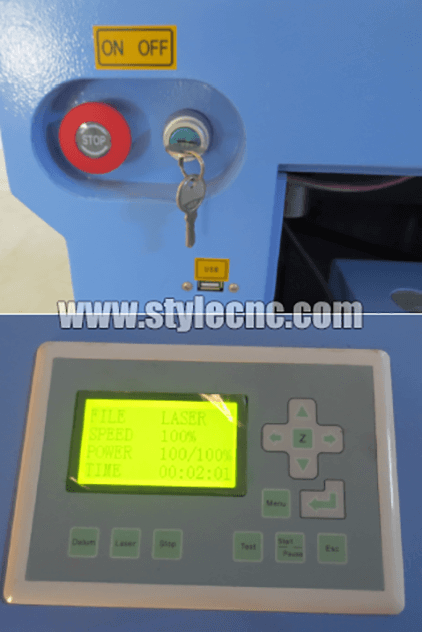
Connect the power: connect the 220v power to the laser power and open the urgent stop, thenthe power locks in order to see whether the power is normal. Press ESC twice,then press the up-down-right-left on the Leetro control panel to see whether the laser head can move normally.
Step 11:
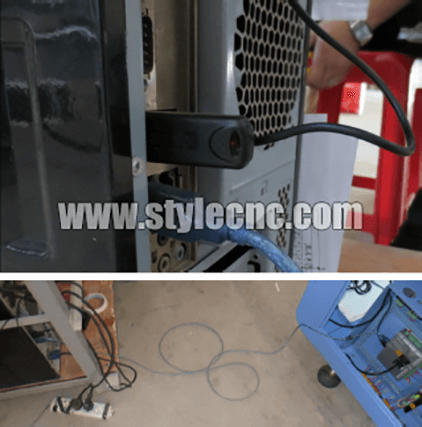
Plug the softdog in the computer, copy the data of the CD to the computer, use the blue data cable to connect the computer with the leetro card, then install the software correctly.
Step 12:
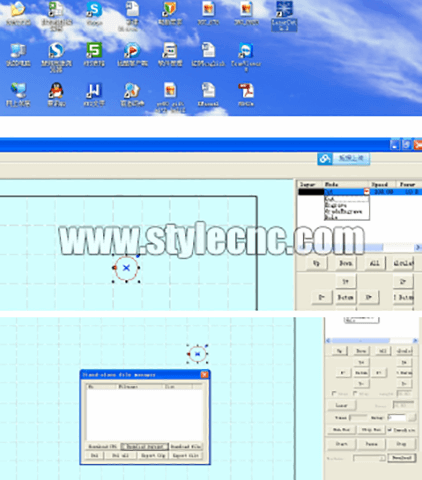
Open the Lasercut icon on the computer desktop, and design a circle about 40*40 mm, the processing method is (cutting), speed is (100),power is (1), then download to the machine. Move the laser head to the proper place then press "test" to see whether the laser head can go around the border. If it is normal, press "start" and begin work.
Hope the 12 steps can help to remove your confusion about the assembly of CO2 laser engraving and cutting machine. If you sill have any questions, please feel free to contact with us. We will try our best to help you.
