CNC Nesting Machine for Closet Door & Wardrobe Door Making
CNC nesting router machine for custom closet door making and personalized wardrobe door making with automatic tool changer, automated feeding system.
Many customers don't know how to assemble and debug their CNC laser engraving cutting machines, this video will teach you how to do when you get one new CNC laser machine.
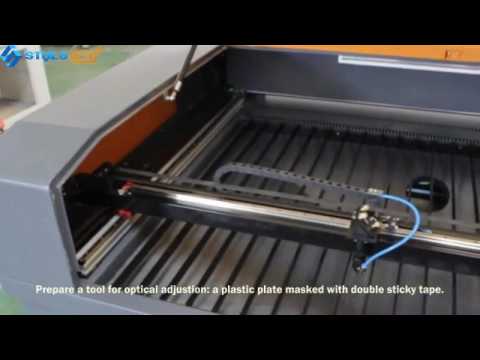

First of all, after receiving the equipment, first check whether the packing box is damaged. First, check whether the laser tube is damaged, and then check whether the appearance of the whole machine is scratched and whether the accessories are complete.
Secondly, the placement of the CNC laser machine should be placed in a ventilated and dry place, close to the grounding wire. After debugging the machine, try not to move the machine, or readjust the light path.
Finally, the CNC laser engraving cutting machine is assembled and debugged.
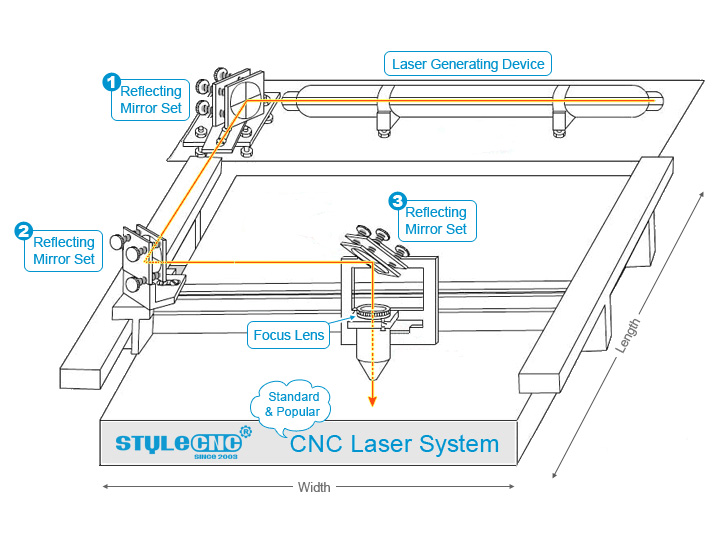
1. Assemble the ground wire: assemble a standard ground wire for the laser machine.
2. Assemble the fan: assemble the exhaust fan into the slot at the back of the machine, and then connect the exhaust pipe.
3. Assemble the water pump: connect the water pump to a water pipe at the back of the engraving machine (with cable ties). Then put the water pump into a bucket with pure water, and connect the power plug of the water pump to a 220V power supply to ensure the water circulation (the water circulation must be guaranteed when the laser engraving machine is energized and tested).
4. Data cable: Use the data cable to connect the laser machine and the computer. (Note that the connection of the data cable should be in the state of the computer and the engraving machine)
5. Dongle: Encrypt the use of the software to prevent malicious operations by outsiders. Without the dongle, the software cannot run. Plug the dongle into the USB interface of the computer and the software can work.
6. Install the software: put the CD into the computer, install the CNC laser machine software, see the CD for the serial number of the dongle.
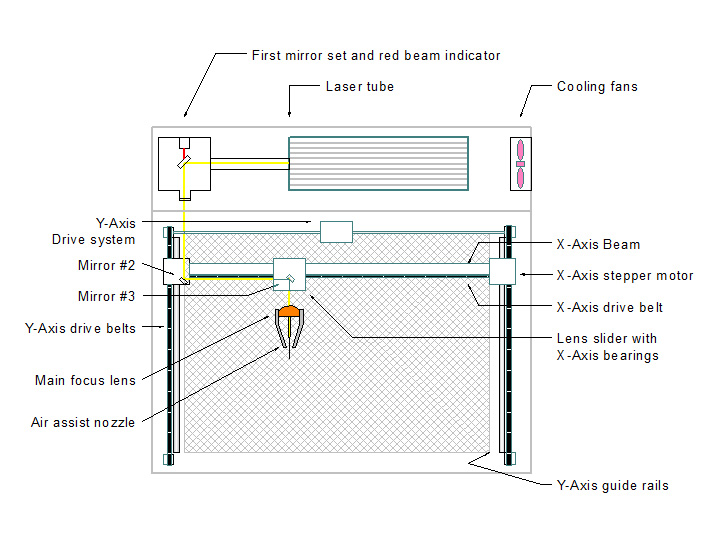
1. Power-on test: After the laser engraving machine is turned on, the trolley will automatically detect and return to the upper right corner.
2. Current adjustment: Press the "test current" button, keep it pressed, and adjust the "current adjustment" button to make the current in the proper position, then release the "test switch" button, so that the machine's working current is adjusted In general, the working current is 6-10 mA. According to different engraving materials, the current can be adjusted appropriately. The larger the current, the stronger the laser and the deeper the nicks.
3. Positioning method: put the material in the fixture so that the engraving surface of the material and the upper plane of the splint are on the same level. In order to achieve the best effect, you can put a wet paper on the material to cover it Material, so as not to burn the material due to excessive current, and then use the laser software to typeset. Click "Output" in the software, then input "abscissa: 100; vertical coordinate: 20," and click "position preview". The specific standard position should be adjusted according to each computer. Note: "speed: 5," "Interval: 2."
Since the CNC laser engraving cutting machine will be debugged before it leaves the factory, there will generally be no problems when the machine arrives at the customer, but the customer must frequently maintain the laser engraver cutting machine during use. If there is a problem during the use of the laser cutter engraving machine, and you cannot solve it, please contact us in time.
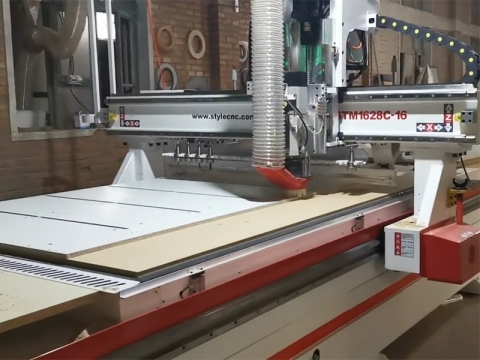
CNC nesting router machine for custom closet door making and personalized wardrobe door making with automatic tool changer, automated feeding system.
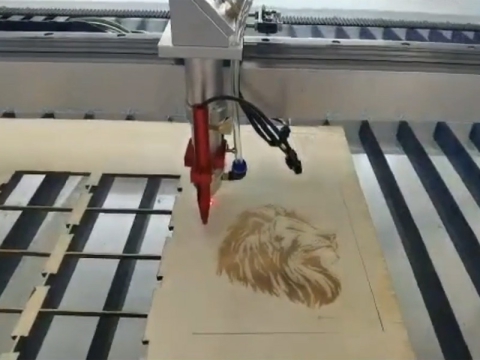
This video shows wood crafts making with CO2 laser cutter engraving machine, which is suitable for wood, MDF, plywood, fabric, leather, acrylic, and plastic.
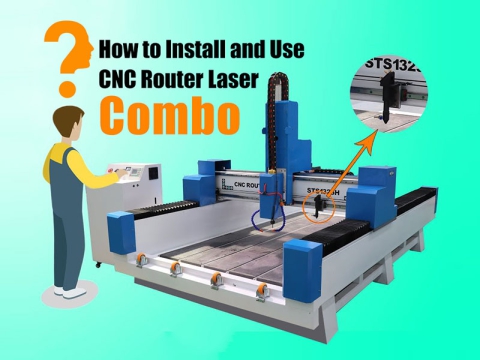
The video shows how to setup & use CNC router and CO2 laser machine combo, which is an all-in-one CNC machine with abilities of routing, engraving, cutting.